Access
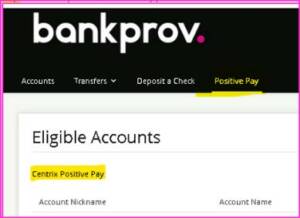
To access the Positive Pay portal, log into your online banking, click on the Positive Pay tab, then click Centrix Positive Pay. This will open the Positive Pay portal in a new browser tab.
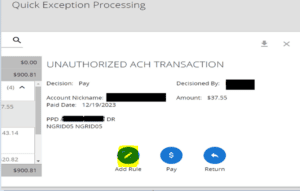
Exception Processing
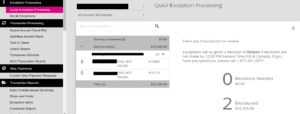
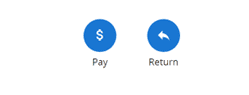
You will receive email notifications when “unauthorized” items post Check or ACH item (if you sign for both services). To review, go to Quick Exception Processing to view the image of the check please select transaction. Once the transaction is verified you can select Pay or Return (choose a reason) If you would like the item paid, please select Past Deadline Item Paid and Save Decisions. Both Checks and ACH transactions will show up on the screen below, if you are using ACH Positive Pay service, instead of “View Image” under the Check # column you will see “Add Rule”
If you want to review or change decisions that were already made, click on the Decision category, and make necessary changes
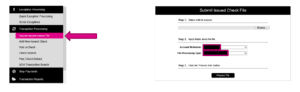
Submit Issued Check File
Browse your computer to find necessary check file and click Process File. The file must be in the same format (data in the same columns, comas, spaces etc…) as the sample file you sent with your request for service, then the system will read the file successfully. If you upload any checks that have already been posted to the account, the system will return an error, will disregard those checks but accept new items.
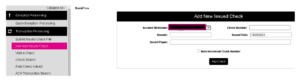
Submit a Single Issued Item
Use “Add New Issued Check and select applicable account from “Account Nickname” drop down menu, enter Check #, Amount, Issues Date and issued Payee and click Add Check when finished. You should receive a message that the Check was successfully added.
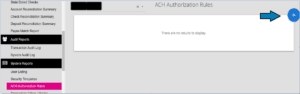
ACH Authorization Rules
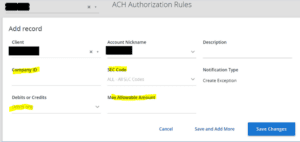
In this section you can review and create new ACH rules (if you have ACH Positive Pay enabled on your profile). Screenshot below shows the two rules the bank sets up– these say that no unauthorized company can debit the account, and any company can credit the account ($0.00 under Max Allowable Amount actually means no limit).
If you know a company’s 10-digit ACH Company ID you can create a rule from the ACH Authorization Rules screen by clicking on plus sign.
The easiest way to add rules is through the Quick Exception Processing screen (screenshots below)
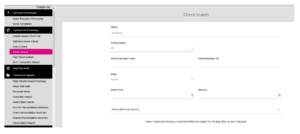
Check Search
You can use check search to confirm that your upload was successful. This will show you a running list of all issued and paid items if you just click Search in the bottom right, and once all current outstanding items are in the system or paid you can run an Outstanding Checks report from here by selecting “Issued / Outstanding” as the Check Status.
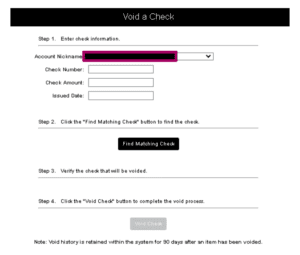
Voiding an Item
From transaction Processing menu, Select Void a check, choose an applicable account from Account Nickname drop down menu enter Check #, Amount, Issues Date and click Find Matching Check.
The system will search for a matching issued check; verify the check that will be voided and then click Void Check.
If the system did not find a matching issued check, a message will display ‘Check was not found’ click Add Check to Void the item; a success message will display.
Note: If you need to place a Stop Payment on a previously issued check, you MUST place the stop payment through Business Online Banking or contact the Bank.